How to get the value of selected radio button using jQuery

Just use below code and modified according to your need.

Note: this is very useful for COD and Prepaid charge addition using javascript, jquery, PHP

<script src="https://ajax.googleapis.com/ajax/libs/jquery/3.7.1/jquery.min.js"></script>


<br><br><br>
<script>
    $(document).ready(function(){
        $("input[type='radio']").change(function(){
        	var radioValue = $("input[name='payment_method']:checked").val();
            if(radioValue){
                alert("Your are a - " + radioValue);


                	var totl     = parseInt($("#total_amount").val());

		       	var shipping_value = totl ;
		          
		          // alert(pay_method);
		          // console.log(pay_method);

		          if(radioValue !=0)
		               {
		                    $("#pay").hide();

		               		let cod_charge = 50;

		               		var totl = totl + cod_charge;


		                   $("#gttotal").html("<label>Total Amount</label> <input type='text' name='total_amount' value='"+totl+"' readonly>");
		               }


		               else
		               {
		               		$("#gttotal").html("<label>Total Amount</label> <input type='text' name='total_amount' value='"+totl+"' readonly>");
		               }


            }
        });
    });
</script>

<form action="forms.php">
    <h4>Please select your Payment Method.</h4>
    <p> 
        <label><input type="radio" name="payment_method" value="0" checked>Prepaid</label>
        <label><input type="radio" name="payment_method" value="1">COD</label> 
    </p>
   
    <div id="pay">
				<label>Total Amount</label>
				<input type="text" id="total_amount"  name='total_amount'  value="100" readonly>

		</div>

		<div id="gttotal"></div>

	<input type="submit" name="">


</form>


How to show two columns on Contact Form 7

How to show two columns on Contact Form 7

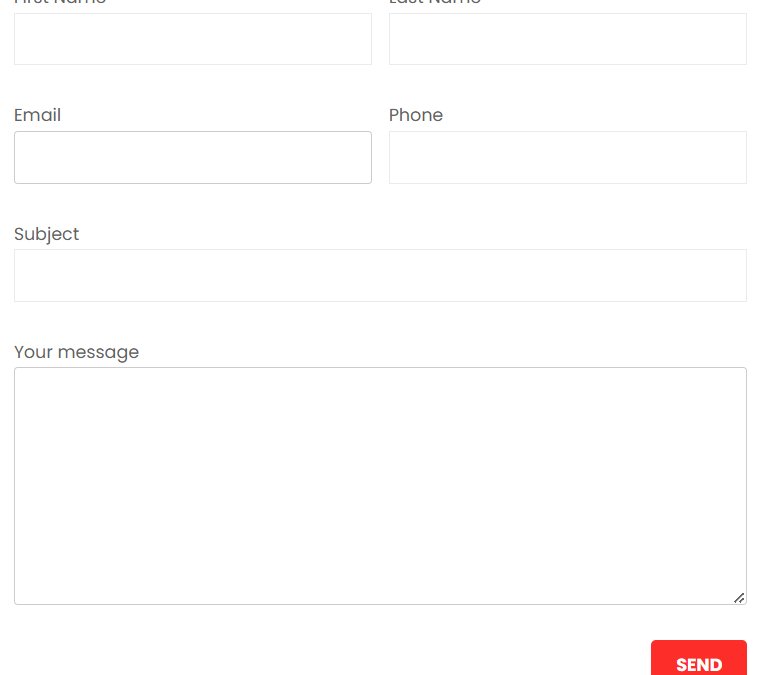
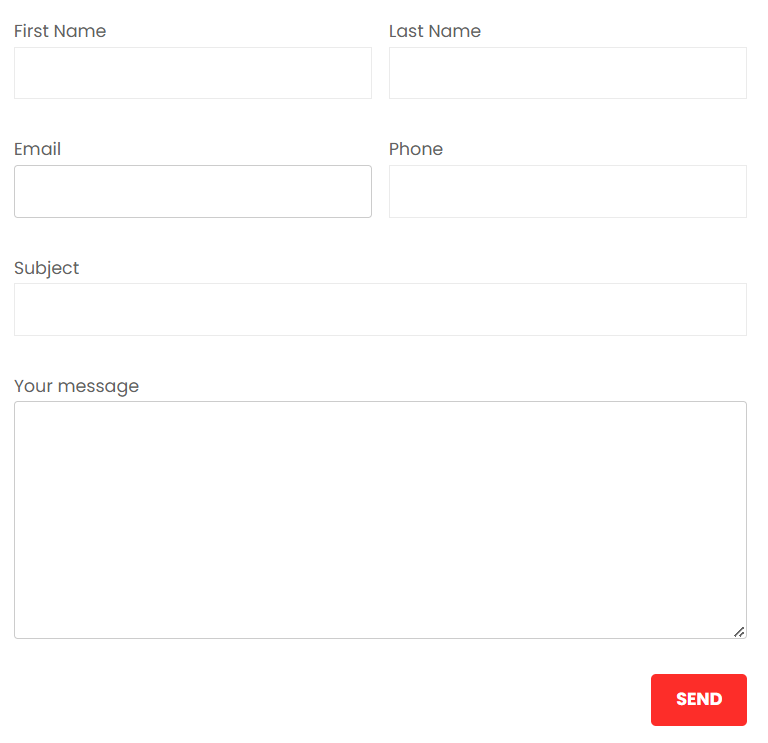
I’ve wrote about creating a two column form in Contact form 7. Now in this tutorial we will see on how to produce a responsive two column form. The form will be in two columns in bigger screens and will come one column in mobile devices. Our final form will look like the following.

How to show two columns on Contact Form 7

you just follow below simple steps:

Step 1: create contact form and copy and paste below code.

and modified field according to your need.

<div id=”responsive-form” class=”clearfix”>

<div class=”form-row”>
<div class=”column-half”>First Name [text* first-name]</div>
<div class=”column-half”>Last Name [text* last-name]</div>
</div>

<div class=”form-row”>
<div class=”column-half”>Email [email* your-email]</div>
<div class=”column-half”>Phone [text* your-phone]</div>
</div>

<div class=”form-row”>
<div class=”column-full”>Subject [text* your-subject]</div>
</div>

<div class=”form-row”>
<div class=”column-full”>Your message [textarea your-message]</div>
</div>

<div class=”form-row”>
<div class=”column-full”>[submit “Send”]</div>
</div>

</div>

Step 2: copy below css and paste in your customiser

/* contact form7 style */
wpcf7 input[type=”text”], .wpcf7 input[type=”email”], .wpcf7 textarea {
width: 100%;
padding: 8px;
border: 1px solid #ccc;
border-radius: 3px;
-webkit-box-sizing: border-box;
-moz-box-sizing: border-box;
      box-sizing: border-box
}
.wpcf7 input[type=”text”]:focus{
background: #fff;
}
.wpcf7-submit{
float: right;
background: #CA0002;
color: #fff;
text-transform: uppercase;
border: none;
padding: 8px 20px;
cursor: pointer;
}
.wpcf7-submit:hover{
background: #ff0000;
}
span.wpcf7-not-valid-tip{
text-shadow: none;
font-size: 12px;
color: #fff;
background: #ff0000;
padding: 5px;
}
div.wpcf7-validation-errors { 
text-shadow: none;
border: transparent;
background: #f9cd00;
padding: 5px;
color: #9C6533;
text-align: center;
margin: 0;
font-size: 12px;
}
div.wpcf7-mail-sent-ok{
text-align: center;
text-shadow: none;
padding: 5px;
font-size: 12px;
background: #59a80f;
border-color: #59a80f;
color: #fff;
margin: 0;
}
#responsive-form{
max-width:600px /*– change this to get your desired form width –*/;
margin:0 auto;
        width:100%;
}
.form-row{
width: 100%;
}
.column-half, .column-full{
float: left;
position: relative;
padding: 0.65rem;
width:100%;
-webkit-box-sizing: border-box;
        -moz-box-sizing: border-box;
        box-sizing: border-box
}
.clearfix:after {
content: “”;
display: table;
clear: both;
}
/**—————- Media query —————-**/
@media only screen and (min-width: 48em) { 
.column-half{
width: 50%;
}
}
/* end contact form7 style */
How to add Marquee on any website wordpress,PHP,HTML,eBlogger ?

How to add Marquee on any website wordpress,PHP,HTML,eBlogger ?

if you want to add marquee on any website (wordpress,PHP,HTML,Blogger). you just need to follow below step

Steps:1 Copy below code

<section  style="margin-bottom: -13px;"><marquee onmouseover="this.stop();"
           onmouseout="this.start();">
	    <span style="color:white;">
       
 <a  style="color:white;" href="/netrikas-coffee-table-book-edition-ll/"><strong>New:</strong> Netrika's Coffee Table Book Edition – ll</a>
 |  
 <a  style="color:white;" href="/cyber-security-preparedness-survey-edition-ll/"><strong>New:</strong> Cyber Security Preparedness Survey: Edition ll</a>
 | 
 <a  style="color:white;" href="/covid-compendium-edition-x/"><strong>New:</strong> Compendium Edition X</a>
 |  <a  style="color:white;" href="/covid-compendium-edition-ix/">Compendium Edition IX</a>
  |  <a  style="color:white;" href="/combating-the-battle-against-counterfeit-medicines-a-newsletter/"> Combating The Battle Against Counterfeit Medicines VII - A Newsletter</a> | <a  style="color:white;" href="/anti-bribery-and-corruption-a-newsletter/">Anti- Bribery And Corruption - A Newsletter</a></span>

  </marquee>   


</section>

Step 2: modify code according to your need.

Step 3: That’s it.

Note: in this code marquee text will automatically stop, when mouse hover on It.

COMPUTER PAR WORDPRESS KAISE INSTALL KAREN

COMPUTER PAR WORDPRESS KAISE INSTALL KAREN

COMPUTER PAR WORDPRESS KAISE INSTALL KAREN

Hello everyone, हम सब जानते हैं कि WordPress सबसे बढ़िया blogging platform है पर अगर हमें इसके साथ blog बनाना है तो हमें hosting और domain name की जरूरत पड़ती है. परन्तु अगर हमने WordPress के साथ शुरू करने से पहले, इसे सीखना हो तो क्या हम इसे बिना hosting और domain name लिए भी सीख सकते हैं?

जी हाँ, बिलकुल.

अगर आप WordPress को सीखना चाहते हैं या फिर कोई भी ऐसा काम हो जो आपन अपनी Live online वाली WordPress साईट के साथ न करना चाहते हो, पर पहले उसे किसी जगह try करना चाहते हों तो, आप WordPress को अपने local PC पर भी install कर सकते हैं. चलिए आज हम जान लेते हैं वो कैसे.

WordPress को Local PC पर install करने के लिए Step by Step Guide:

ये रहे WordPress को local PC पर install करने के लिए steps:

सबसे पहले आपको दो चीज़ों की ज़रुरत होगी. ये दो चीज़े हैं एक तो किसी offline php और mysql runtime environment software की और दूसरा WordPress CMS की official .zip archive file की. इस tutorial में हम, WAMP Server को use करेंगे. दोनों चीज़ों के link नीचे दिए गएँ हैं. इनपर click करके आप इन्हें जल्दी से Download कर लीजिये.

एक बार दोनों चीज़े download कर लें, उसके बाद नीचे दिए गए steps को ध्यान से follow कीजिये.

  1. WAMP Server को अपने PC पर install कीजिये.
  2. Install के बाद उसे run कीजिये, इसे आपके PC की specifications के हिसाब से कुछ समय लगेगा.
  3. यह icon अलग-अलग colour का हो सकता है, Red, Green या Blue. हर colour इस server की एक condition को बताता है. Green indicate करता है कि server online है और इसकी सारी services भी online हैं, Orange indicate करता है कि server offline है और services partially on हैं, और Red रंग indicate करता है कि सारी services भी बंद है और server भी offline हैं.
  4. हमें इस server को online करना है, उसके लिए, इस icon पर click कीजिये और फिर Start All Services के button पर click कीजिये. Note करें कि icon जल्द ही green हो जाये.
  5. उसके बाद जब आपका server online हो जाये, दुबारा उस icon पर click कीजिये और फिर phpmyadmin पर click कीजिये. फिर आपके default web browser में आपके सामने एक MySQL का setup open हो जायेगा.
  6. यहाँ पर हमें अपने WordPress के लिए एक databse create करना पड़ेगा. उसके लिए, left pane में New के link पर click कीजिये. उसके बाद नीचे दिए गये screenshot के अनुसार, अपने database का name enter कीजिये और फिर Create के button पर click कीजिये.
  7. अब हमने जो WordPress का .zip archive फोल्डर download किया था उसे, unzip कीजिये. उसमे एक और फोल्डर होगा, “WordPress” के नाम से. आप चाहे तो इस फोल्डर का नाम जो चाहें रख दे, बस ध्यान रखें कि आप ये नाम अच्छी तरह से याद रखें, वो क्यों, हम जानते हैं. तो मन लीजिये हमने इसका नाम shoutmehindi रख दिया.
  8. अब इस फोल्डर को यहाँ से cut कीजिये और WAMP server की installation directory में जाईये और फिर इसमें, www folder में जाईये. Default directory है: C:\wamp\www. इस www फोल्डर में वो फोल्डर paste कर दीजिये.
  9. अब अपने default web browser में जाईये, ध्यान रखिये, आपका WAMP server online हो, अब URL bar में type कीजिये, localhost/“आपके folder का नाम”. Example के लिए हमारे case में ये है: localhost/shoutmehindi.
  10. अब आपके सामने WordPress का setup शुरू हो जायेगा. अब बस, इस setup के ज़रिये, आपने जो example WordPress blog अपने local PC पर बनाना हो, उस हिसाब से details enter कीजिये और proceed कीजिये.

जब आप WordPress की database information भरें तो इस डाटा का use कीजिये.

  • Database name : Database name you have created (WordPress)
  • Username : root
  • Password : Leave it blank
  • database host : Keep it default (Localhost)
  • Database prefix : Keep it default (wp_)

तो इस तरह आप आसानी से अपने local PC पर WordPress को install कर सकते हैं.

कुछ ज़रूरी चीज़ें ध्यान रखने के लिए:

  • जैसे किसी online साईट का WordPress URL ऐसा होता है, example.com बस local site में फरक इतना होगा कि आपका URL होगा, localhost/example.com
  • अगर आपको अपनी local WordPress साईट में login करना हो, तो इस URL पर जाईये, localhost/“आपके folder का नाम”/wp-login (किसी live साईट में ये ऐसा होता है: example.com/wp-login)
  • जब भी आप local साईट चलायें, आपका server online condition में हो.

हमने इस के बारे में एक video भी बनाई है जो हम YouTube पर जल्द ही upload करेंगे. ????

Secured By miniOrange